You’ve got locks, maybe a camera—but your house still looks like an easy target after dark. Shadows hide movement. Blind spots invite trouble. And most homeowners slap on cheap fixtures without thinking about placement, glare, or what actually deters intruders. The fix? Properly fitting wall mounted outside security lights. Not just installed—engineered for real-world protection.
Why Most Outdoor Security Lights Fail Within 6 Months
They’re bought, not chosen. People grab whatever’s on sale at the big-box store—plastic housings, weak lumen output, poor beam spread. Then they mount them too high, too low, or directly above the front door (creating a blinding hotspot while leaving the driveway in pitch black). Result? Wasted electricity and false confidence.
And here’s the kicker: many DIYers skip weatherproofing the electrical box entirely. Rain sneaks in. Corrosion follows. Next thing you know, your “security” light flickers out during a storm—the exact moment you need it most.
Fitting Wall Mounted Outside Security Lights: A Step-by-Step Blueprint
Forget winging it. This isn’t decorative lighting. Every decision impacts safety.
Selecting the Right Fixture Type
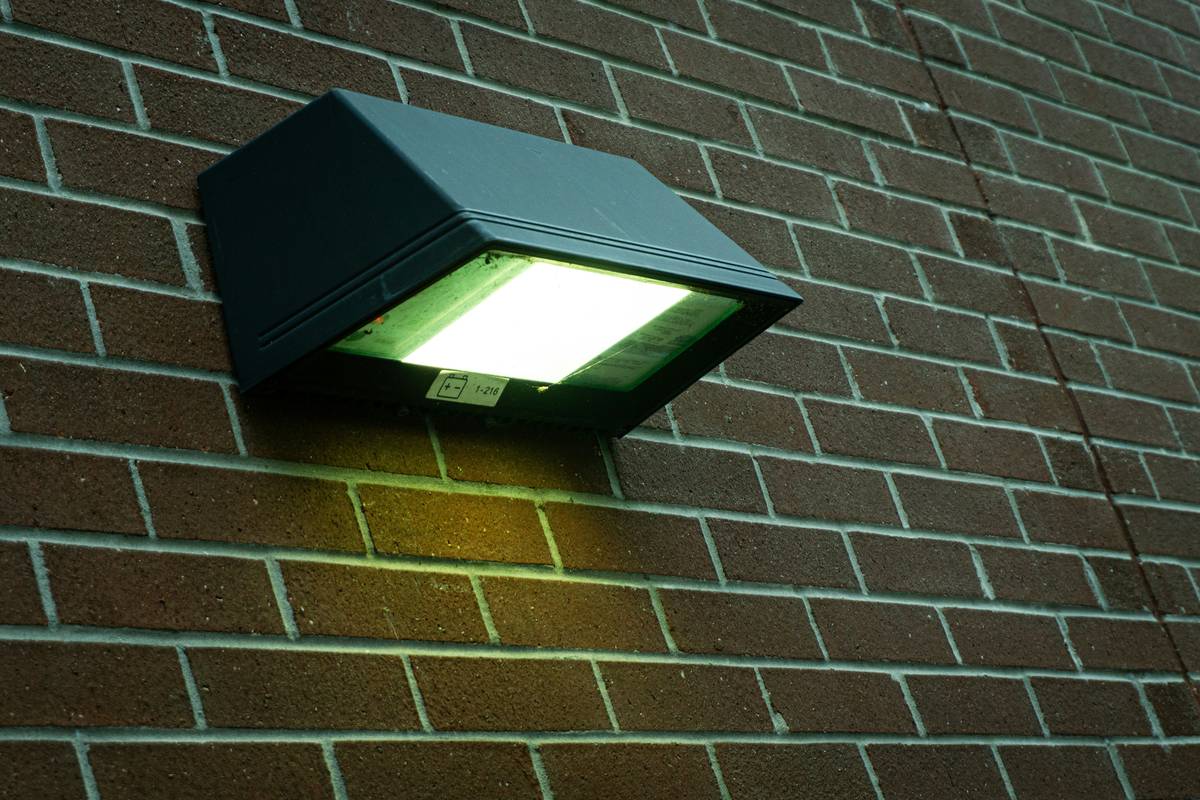
Go for die-cast aluminum—not plastic. Look for IP65 rating minimum. Motion-sensor models should offer adjustable sensitivity AND duration (1–10 minutes is ideal). Avoid “always-on” floodlights unless paired with smart scheduling; they burn out faster and annoy neighbors.
Strategic Mounting Height and Angle
Mount between 8–10 feet high. Any lower, and vandals can tamper with it. Any higher, and motion sensors lose accuracy. Tilt the fixture slightly downward—15 to 20 degrees—to illuminate walkways and entry points without blasting direct glare into windows or the street.
Wiring and Weatherproofing Like a Pro
Use UF-rated cable if running new lines. Seal conduit entries with outdoor-rated silicone. Wrap all wire nuts with self-fusing tape—regular electrical tape degrades fast under UV exposure. And never, ever leave knockouts open on the junction box.
| Approach | Cost Range | DIY Feasibility | Longevity |
|---|---|---|---|
| Hardwired LED w/ Motion Sensor | $80–$180 per fixture + potential electrician fee | Moderate (requires circuit access) | 7–10 years |
| Solar-Powered Security Light | $40–$100 | Easy (no wiring) | 2–4 years (battery-dependent) |
| Plug-In Retrofit (into outdoor outlet) | $50–$120 | Easy | 3–5 years |
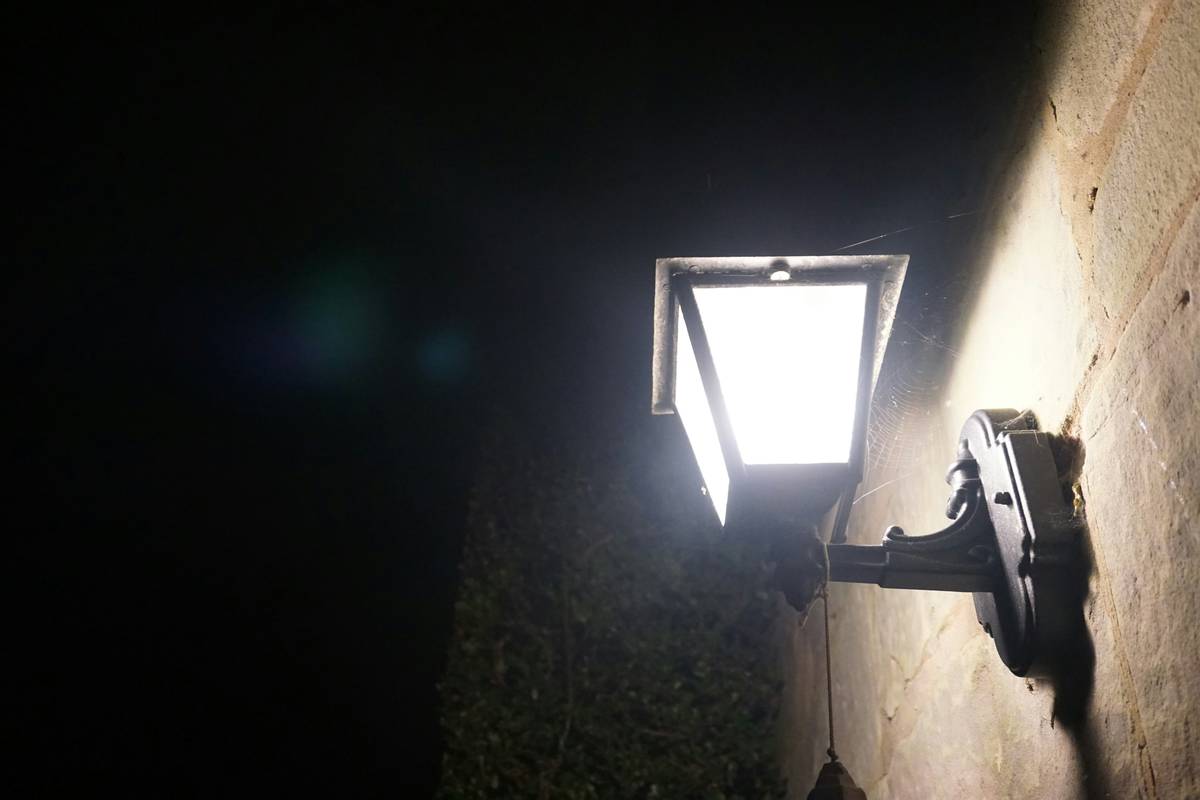
The Industry Secret: It’s Not About Brightness—It’s About Contrast
Most electricians won’t tell you this: a 2,000-lumen spotlight pointed straight down creates harsh shadows that actually help intruders hide. Real deterrence comes from layered lighting—ambient + targeted. Install a low-level dusk-to-dawn path light near shrubs, then pair it with a motion-activated wall-mounted fixture above the garage. The sudden shift from soft glow to bright alert triggers human instinctive caution. That contrast—not raw intensity—is what makes someone think twice. Police crime prevention units use this principle. You should too.
FAQ: Quick Answers to Real Homeowner Questions
Do I need an electrician to install wall-mounted security lights?
Only if you’re running new wiring from your panel or don’t have an existing outdoor-rated electrical box. If replacing an old fixture or using plug-in/solar options, many homeowners handle it safely.
What’s the best color temperature for outdoor security lighting?
Go with 4000K to 5000K—cool white. It renders colors more accurately than warm yellow (helping identify clothing or vehicles) and feels more “alert” to the human eye.
Can these lights work in heavy rain or snow?
Yes—if rated IP65 or higher. That means full dust protection and resistance to low-pressure water jets. Always verify the rating before buying anything labeled “outdoor.”